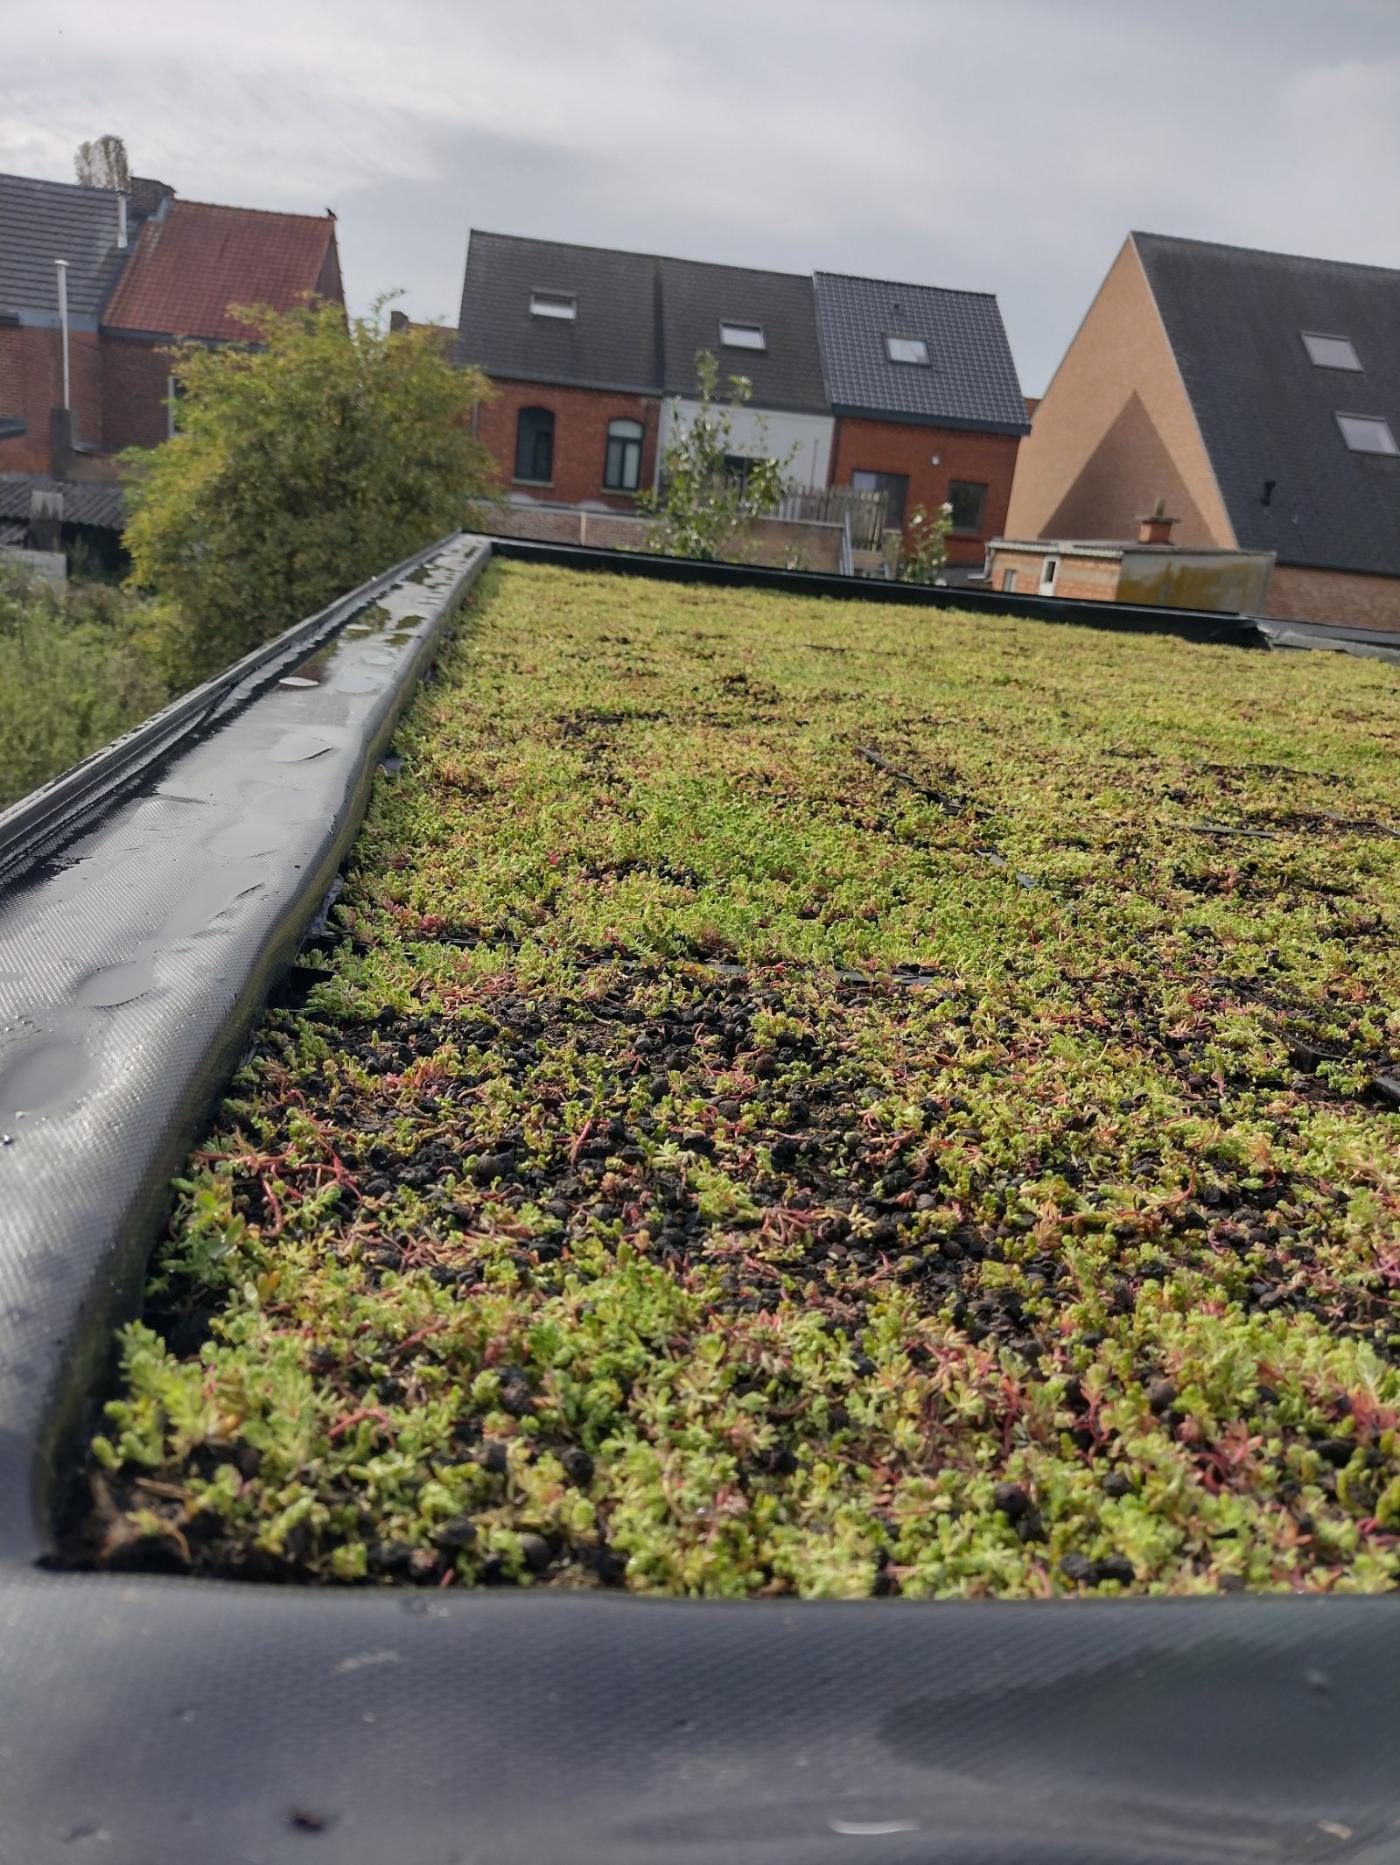
a smooth job
THE STEP PLAN
From bare roof to green roof.
The same steps for every roof, adapted to the green roof type you choose.
1
Inspect the roof
TOOLS: YOUR EYES, A BROOM
Check the waterproofing for damage, sweep it clean, and confirm slope and load capacity. Unsure about the load? Send us photos and dimensions – we check this before you order!
2
Install protection layer
ROLL OUT
Roll the root barrier over the whole surface with an overlap of at least 50 cm, then the protection fleece on top with an overlap of at least 10 cm. They shield your waterproofing from roots and friction for the decades ahead.
3
Install drainage layer
CLICK THE BOARDS TOGETHER
For the layered system: lay the boards side by side, flat side down and the studs facing up. Easy to break and cut to size. Then lay the filter fleece with a 50 cm overlap. Make sure the fleece also runs 10 cm up against the roof edge. For the tile system: lay the pre-grown tiles side by side. Cutting is out of the question here. The drainage layer holds rainwater for dry periods.
4
Finish roof edges
EDGES, GRAVEL, DRAIN
Fit the edge profiles, fill the border with gravel, and place the drain box over the drain. Lay a cloth over glazed windows and only then start applying the substrate layer.
5
Add substrate
SPREAD EVENLY, DON'T COMPACT
Apply the substrate onto the filter fleece and spread it evenly to the desired thickness. A rake makes it flat; gravity does the rest.
6
Place vegetation
THE FUN PART
Lay the sedum mats tight against each other, sow the cuttings and herbs, or pot the plants into the substrate layer. Water once, generously — then keep an eye on the forecast. Let the Belgian weather take over in winter and in changeable spells. Do give water now and then in long dry periods. Step back. Take the photo. Send it to us — we love those.
ON REAL ROOFS
What the steps look like.
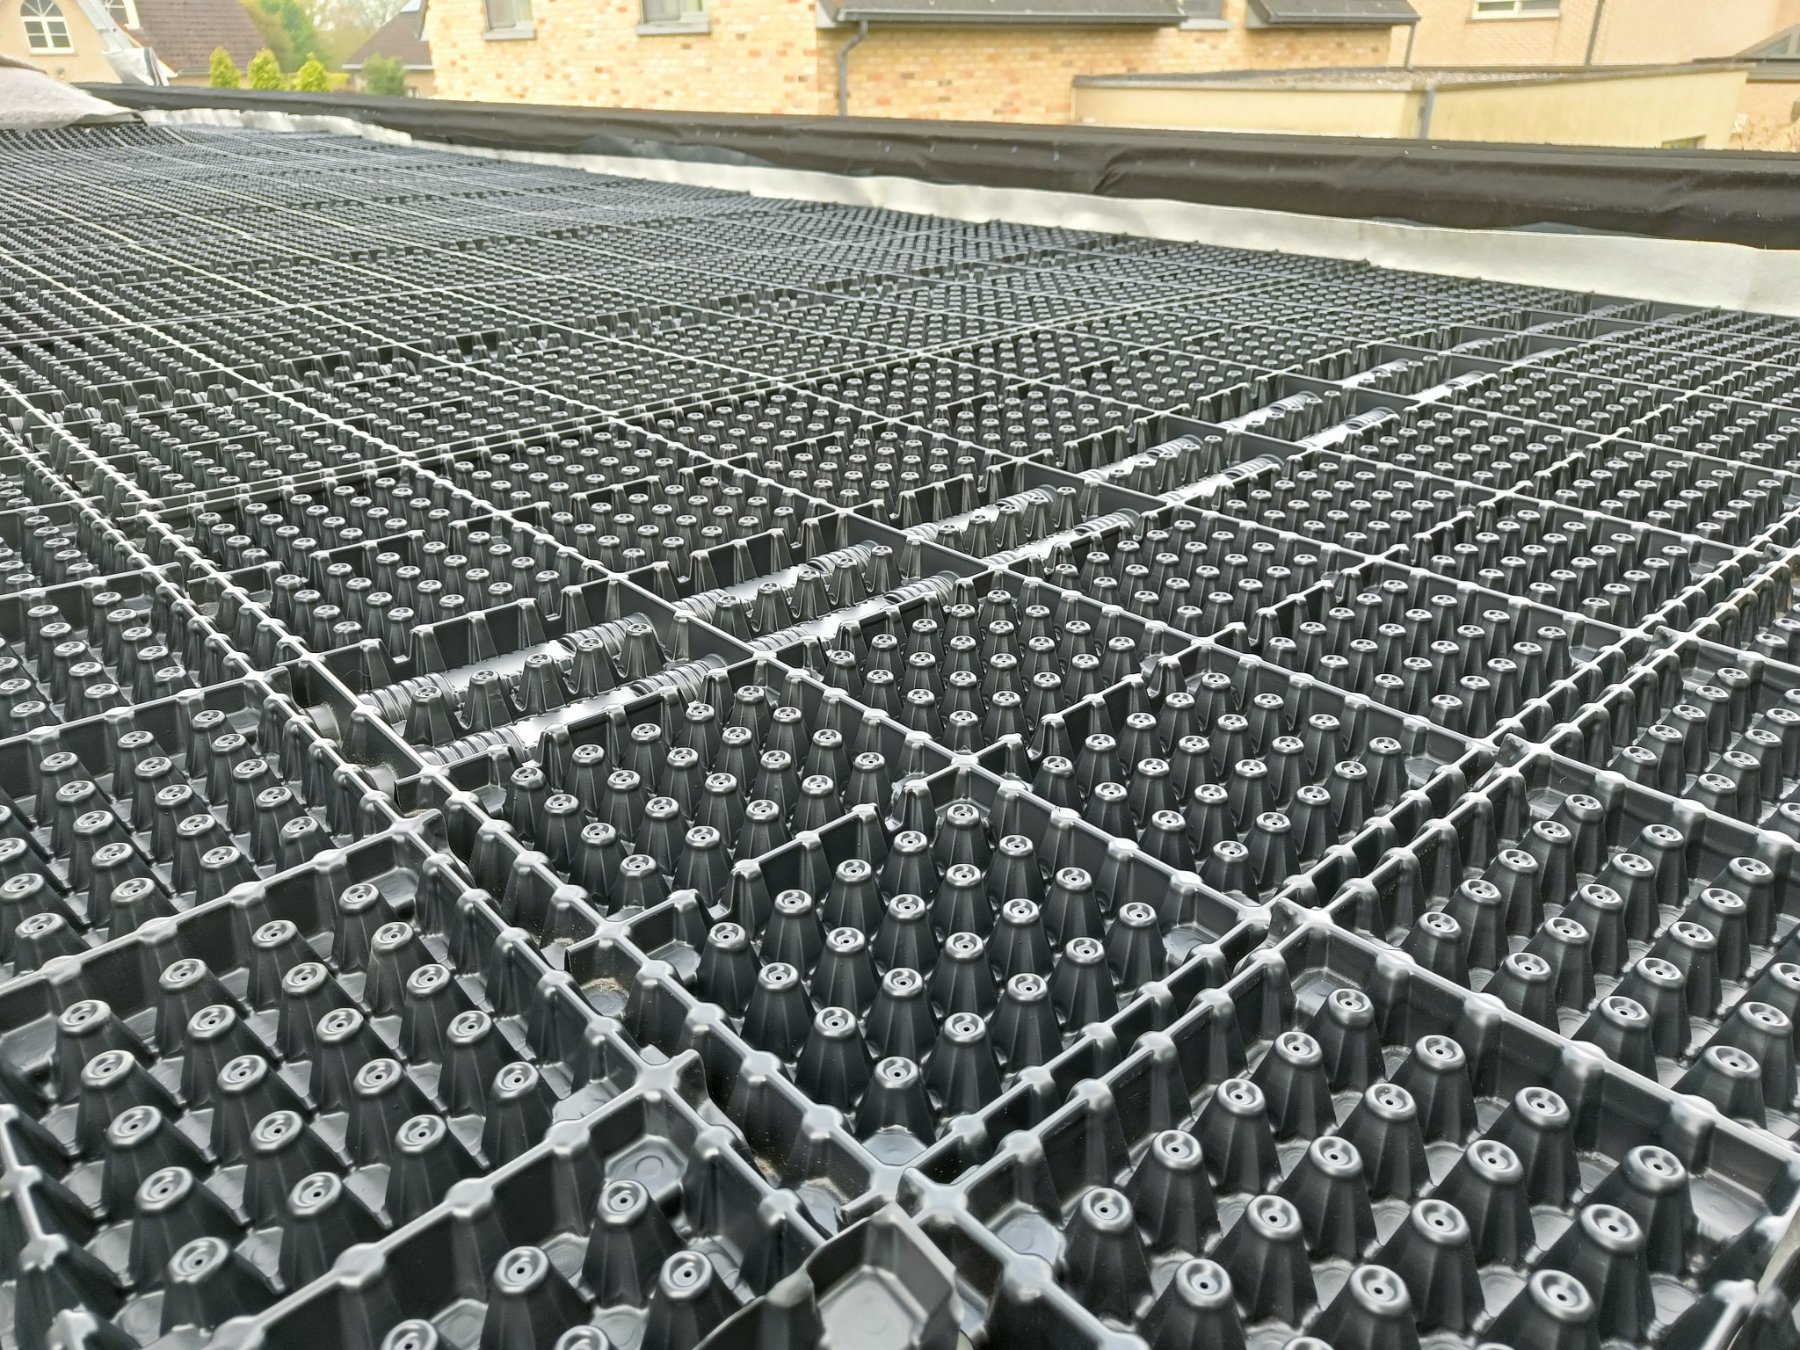
step 3 — drainage with overlap of fleece and root barrier along the roof edge
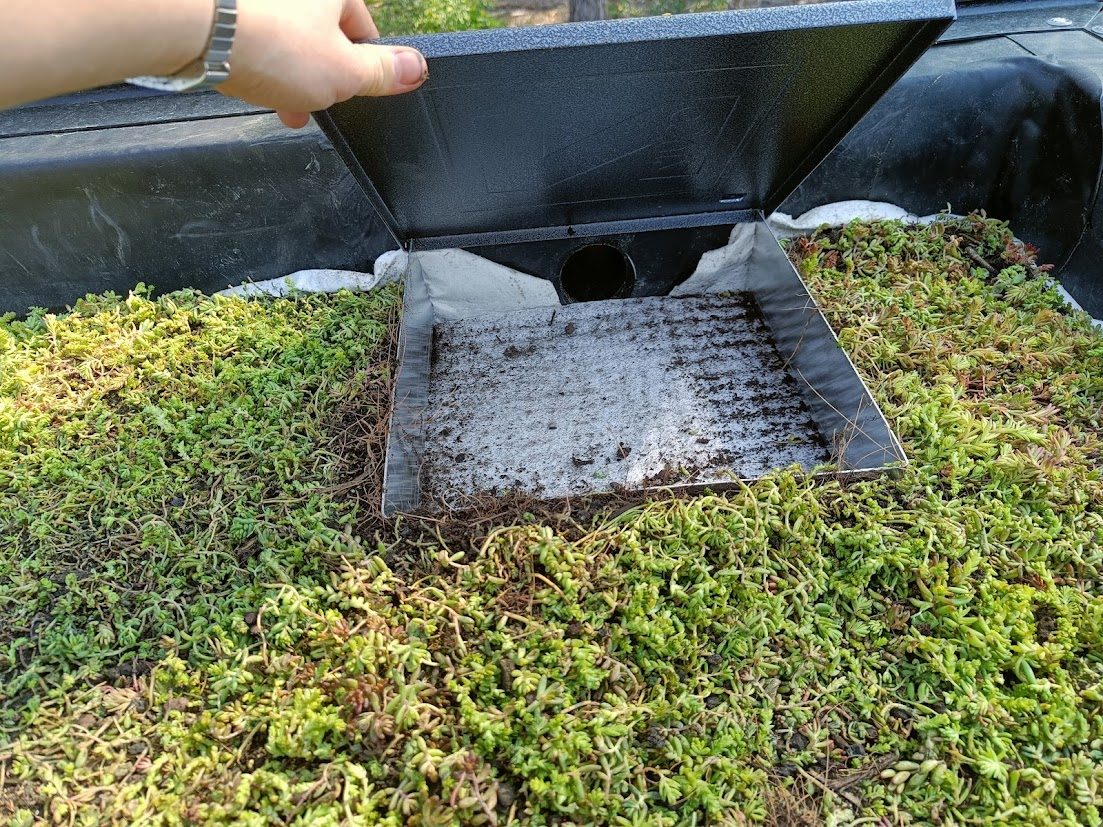
step 4 — the drain always stays reachable, with and without lid
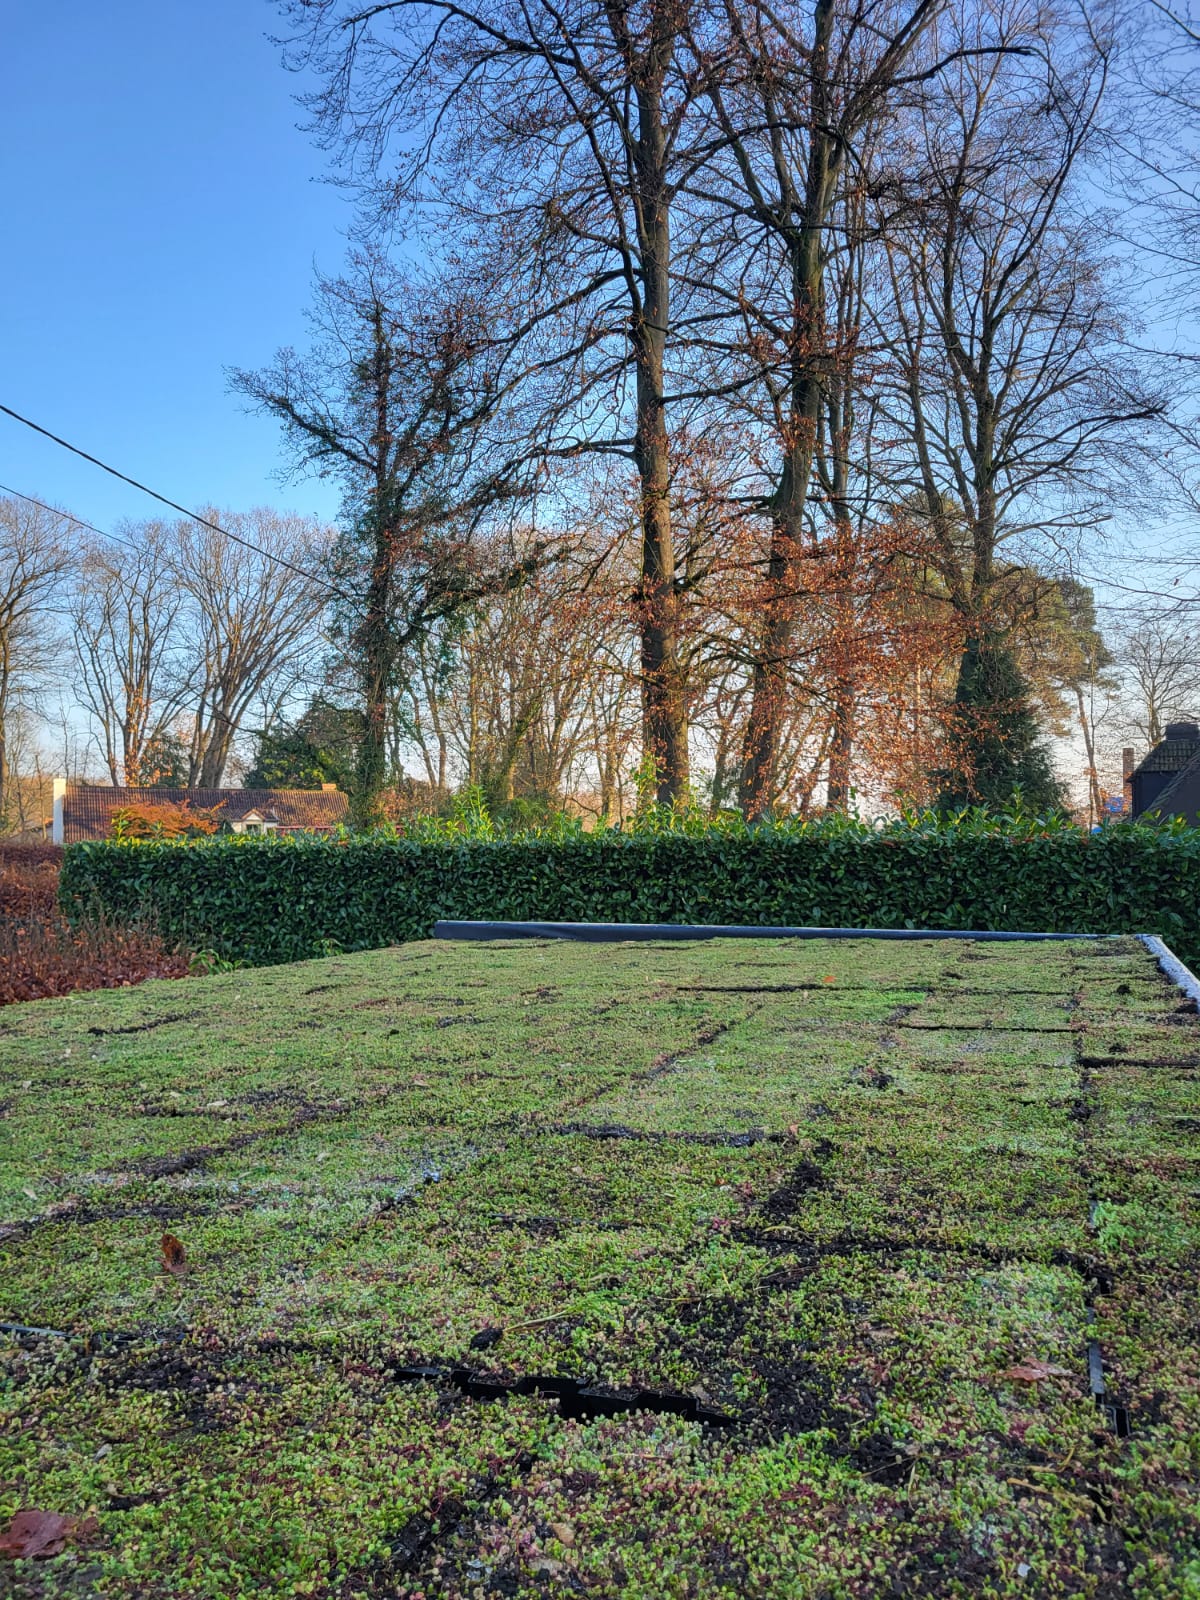
step 6 — a green view as the final stop
AFTERWARDS
Maintenance: honestly, not much.
SPRING
Feed it once
One round of fertiliser a year keeps plants vital and flowering.
SUMMER
Water while rooting
Water now and then in the first weeks after installation. Once well rooted, your green roof can live on rain. In spells of extreme, persistent drought your green roof does appreciate a drink — just like we need extra water in hot weather.
AUTUMN
A quick look-over
Pull out unwanted seedlings, clear the gravel border, sweep leaves off the roof and add some fertiliser. Done till spring.
FAQ
The questions everyone asks.
Can my roof carry a green roof?
Most flat roofs can carry our lightweight build-ups (from roughly 45 kg/m² saturated). Send us your roof type and construction — timber, concrete or steel deck — and we'll confirm the safe option before you order. When in doubt, a structural engineer has the final word.
Does a green roof damage the waterproofing?
The opposite. The root barrier and protection fleece shield the membrane, and the vegetation blocks UV and temperature extremes — the main causes of roof ageing. Your waterproofing should be in good condition before installation, though.
How steep can my roof be?
Up to about 5° nothing special is needed. Between 5° and 15° we add anti-shear measures to the kit. Steeper than that? Contact us — solutions exist, they just need a word of advice first.
When is the best time to install?
Spring and autumn are ideal: mild, moist weather lets plants recover perfectly from transport. Pre-grown mats and tiles can be planted all year round. Potted plants, cuttings and seed are best not planted on hot summer days. Laying green roofs during frost periods is strongly discouraged.
What if I get stuck halfway?
Ask for the matching manual. We are reachable Monday to Friday, 8am to 5pm.
Manual in hand, kit on pallet.
Request your kit quote and the illustrated installation manual comes with it — measured for your exact roof.